


What is Brave Browser?
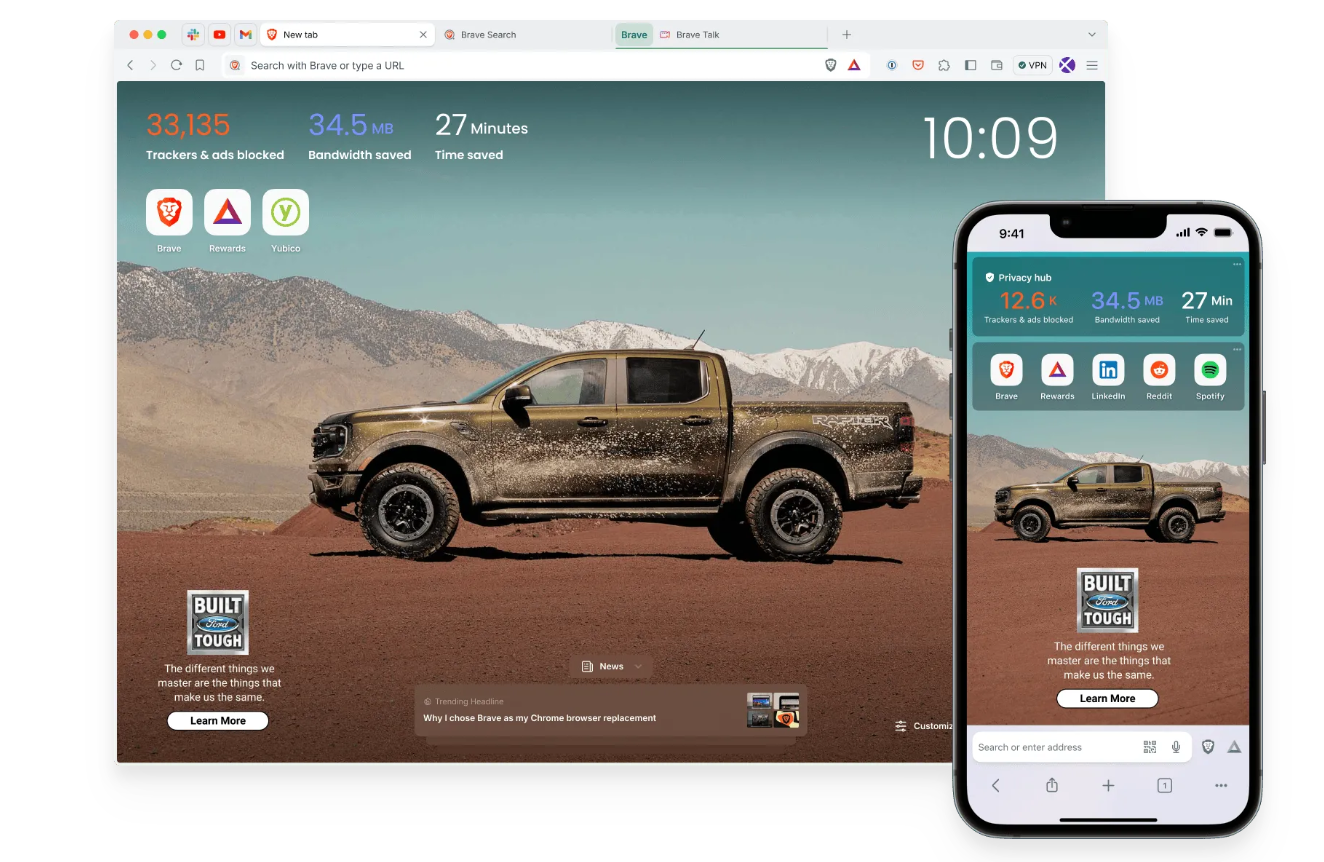
Brave Browser is an innovative web browser that prioritizes privacy, speed, and ad-blocking capabilities. Most notably, Brave allows users to earn cryptocurrency (Basic Attention Tokens, or BAT) by choosing to view privacy-respecting ads. This feature provides a unique way for users to safely monetize their browsing activities. By blocking unwanted content, Brave significantly reduces page load times while improving privacy. It’s a compelling choice for those who want to combine efficient browsing with the potential to earn money from their online activities.
Why Brave Browser Needs Proxies to Be Fully Effective?
While Brave Browser excels at privacy and ad blocking, its functionality can be enhanced through the use of proxies. Proxies allow users to change their IP address, providing an additional layer of anonymity and security. This is critical for those who need to access geo-restricted content or protect their browsing activity from being traced to a specific location. Additionally, for marketers and researchers who manage multiple accounts, proxies allow them to operate without risking account bans or restrictions, maximizing Brave’s privacy and monetization potential.
Setting Up a Proxy in the Brave Browser
Built on the Chromium engine, Brave Browser shares many features with Google Chrome but places a greater emphasis on security and user anonymity while browsing. This browser is compatible with Windows, Mac, and Linux and supports proxy server integration.
However, unlike Chrome, Brave does not allow direct proxy settings within the browser interface. Instead, users must configure proxy settings at the system level in Windows to specify a particular IP and proxy for the browser.
This guide will teach you how to properly add a proxy server to the Brave Browser to enhance your online browsing anonymity.
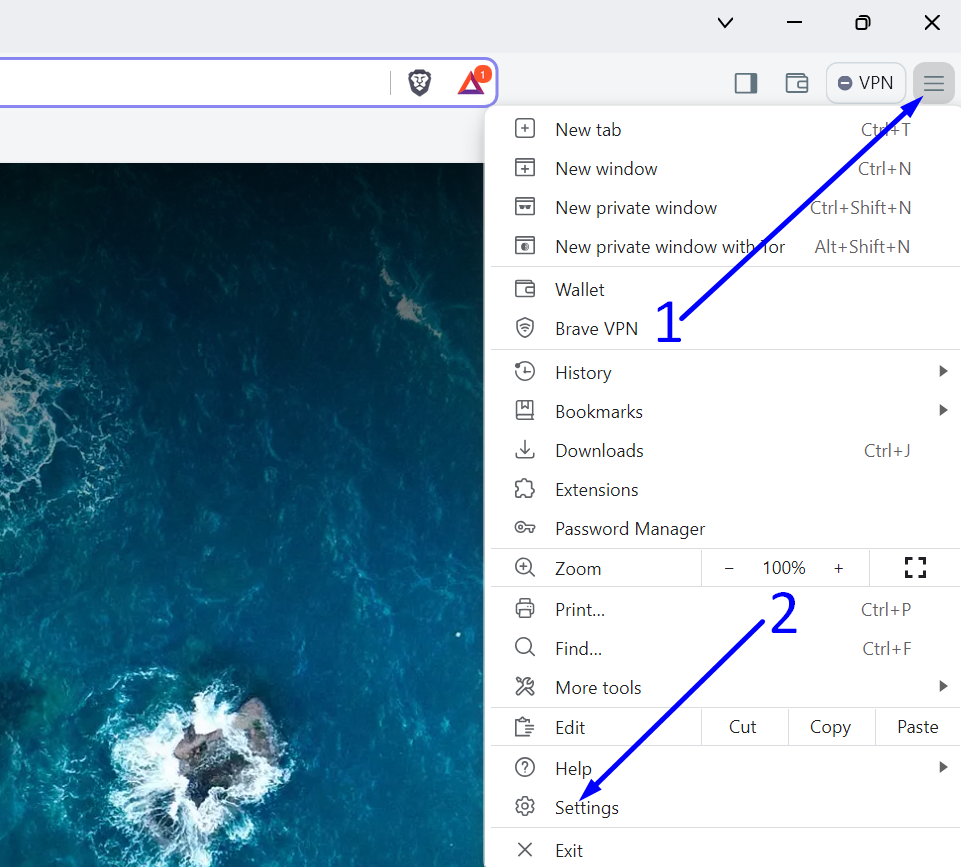
- In the upper right corner of the Brave Browser, click on the hamburger icon (three vertical lines).
- Then, select “Settings” from the menu that appears.
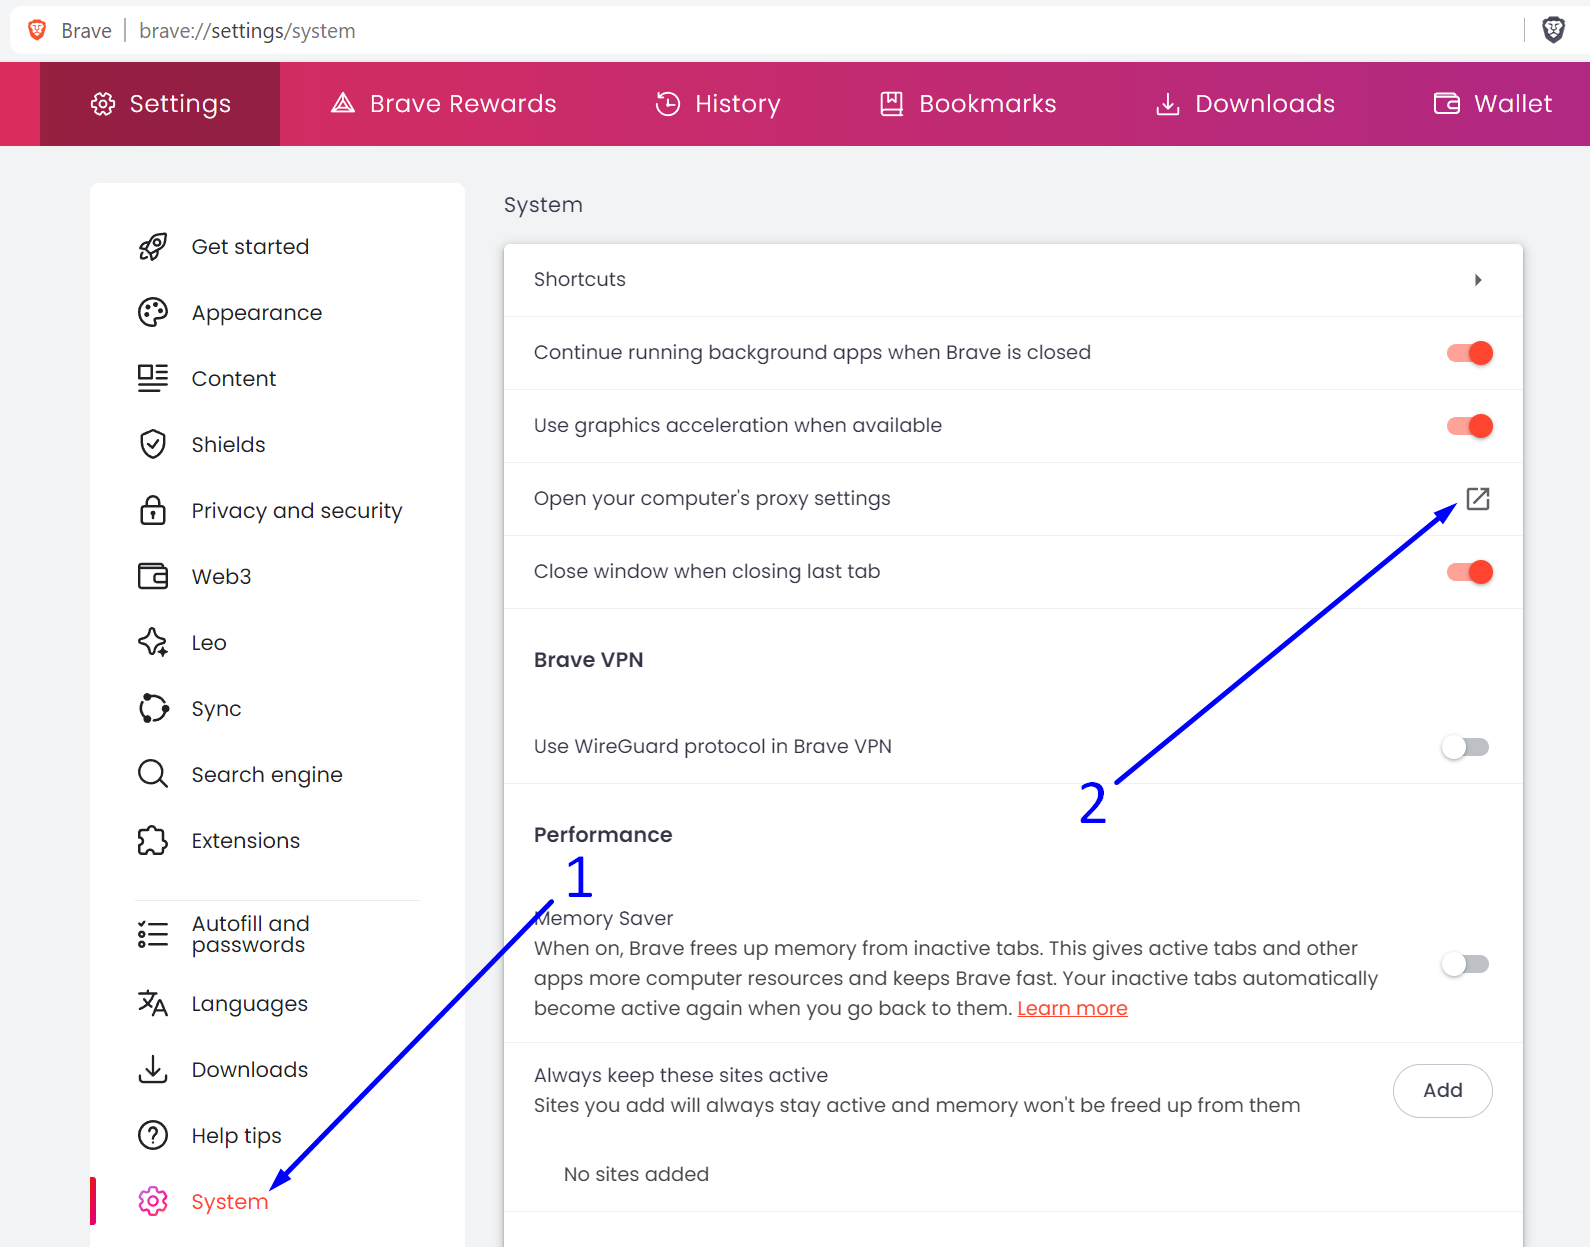
- Click on the “Settings” menu section.
- Click on “Open your computer’s proxy settings”.
Step 3: Open System Settings
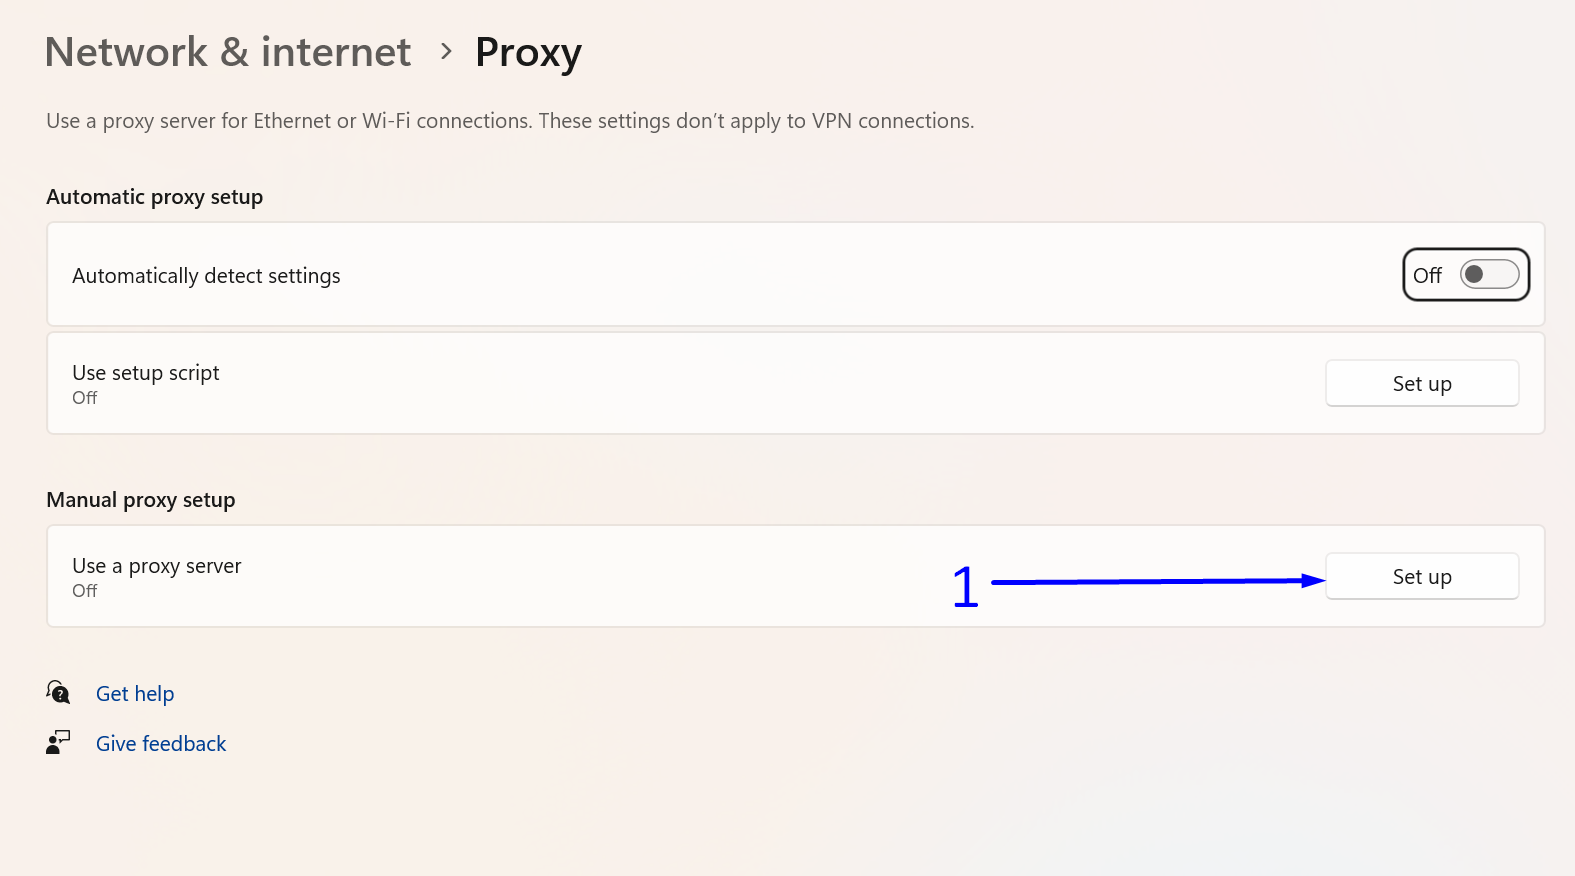
In the “Manual proxy setup” section, click the “Set up” button.
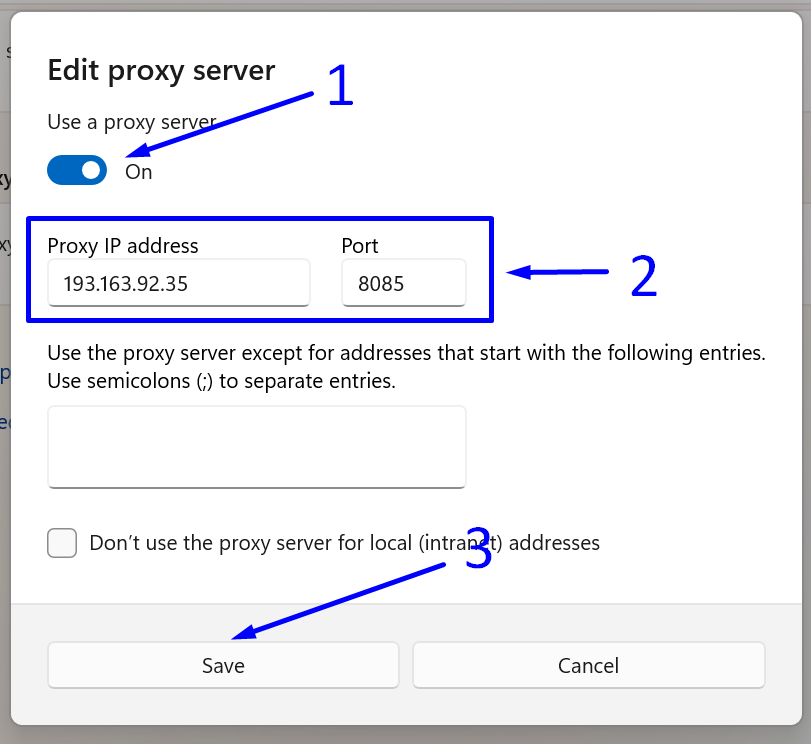
Step 4: Set Up HTTP Proxy
Due to Brave Browser using system settings and lacking independent network configurations, you cannot use advanced proxy settings. SOCKS protocol, and proxy authentication with username and password are unsupported. You are limited to using the less anonymous HTTP proxy.
To set up an HTTP proxy, follow these steps:
- Toggle the “Use a proxy server” switch to “On“
- Enter the IP address and port of your proxy.
- Save the settings by clicking the “Save” button.
Overall, it can be said that Brave Browser serves as an alternative to Chrome. However, it does not offer the broad set of features available in competitors such as Firefox, which includes the powerful and highly reliable FoxyProxy extension.
