


What is the MultiBrowser?
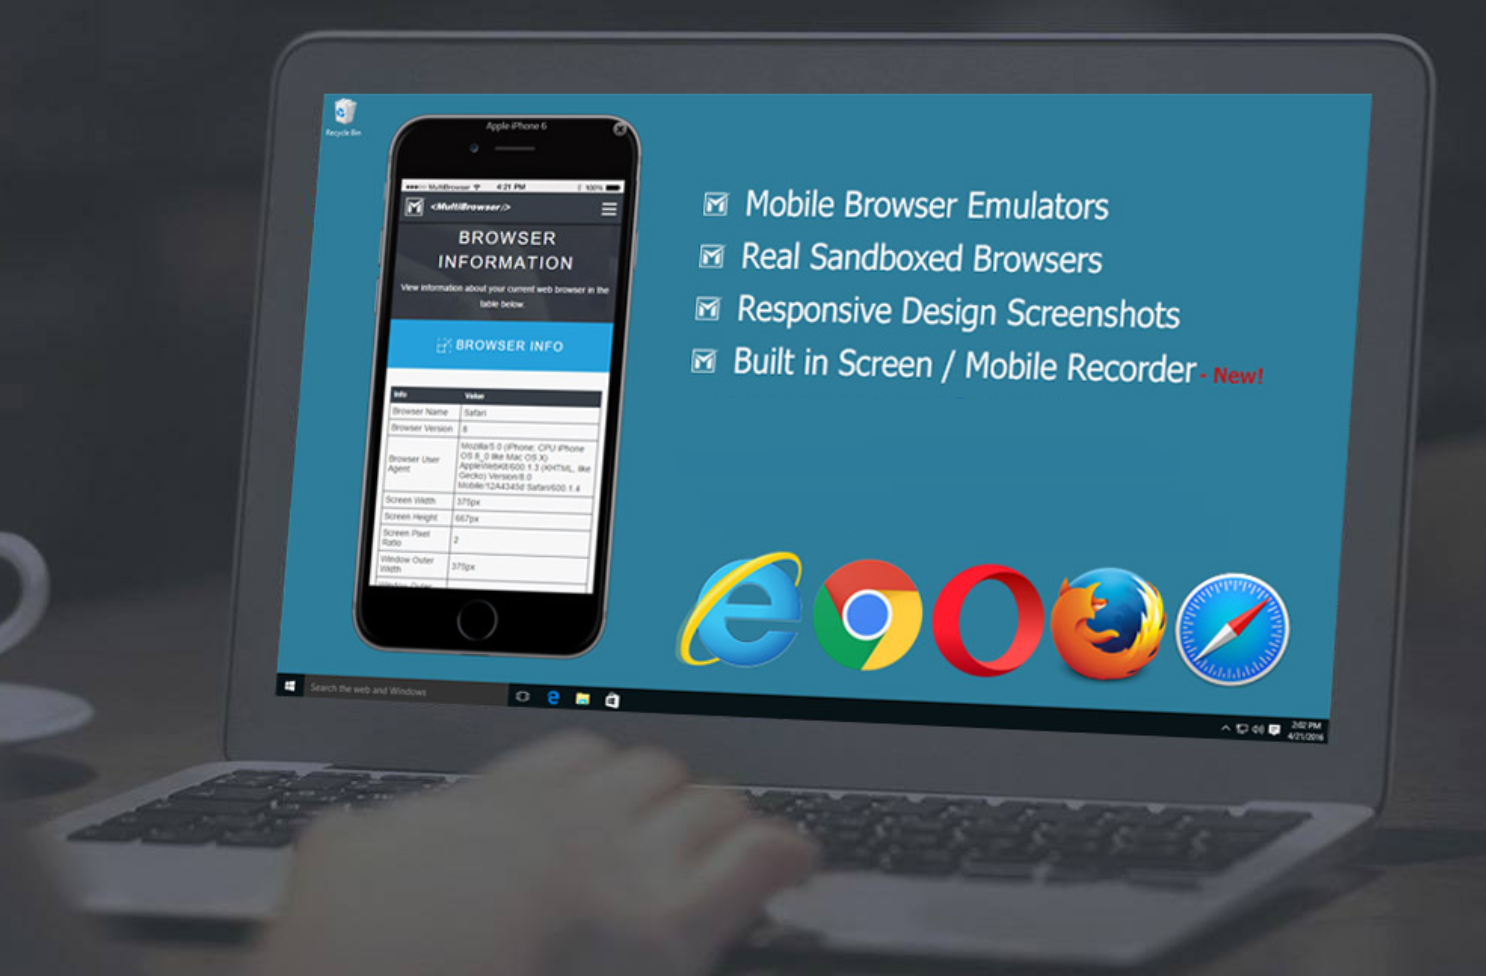
MultiBrowser is a software tool designed for responsive, mobile and automated cross-browser compatibility testing. It allows users to run real, sandboxed web browsers and mobile emulators on their desktops, enabling seamless testing across different browser versions without the need for virtual machines. MultiBrowser includes features such as standalone browser operation, mobile browser emulation, responsive design testing, integrated video recording and automated web testing capabilities. This makes it ideal for developers and testers who need to ensure that their websites perform well across multiple devices and browsers.
Why Are Proxies Necessary for MultiBrowser?
Proxies are essential for MultiBrowser users primarily because of their ability to simulate traffic from different geographical locations, which is crucial for testing how websites perform in different regions. This capability is particularly valuable for companies looking to optimise their digital marketing strategies and improve user experience on a global scale. In addition, proxies help to maintain anonymity and security during these tests, avoiding potential IP bans and ensuring that testing activities do not interfere with real user data, thereby driving better business results and maintaining operational integrity.
Setting Up a Proxy in the MultiBrowser
This guide will show you how to configure a proxy server in MultiBrowser to prevent account bans and increase your online privacy.
Important note: MultiBrowser does not support the SOCKS protocol. Therefore, we will demonstrate the process of setting up an HTTP proxy in MultiBrowser.
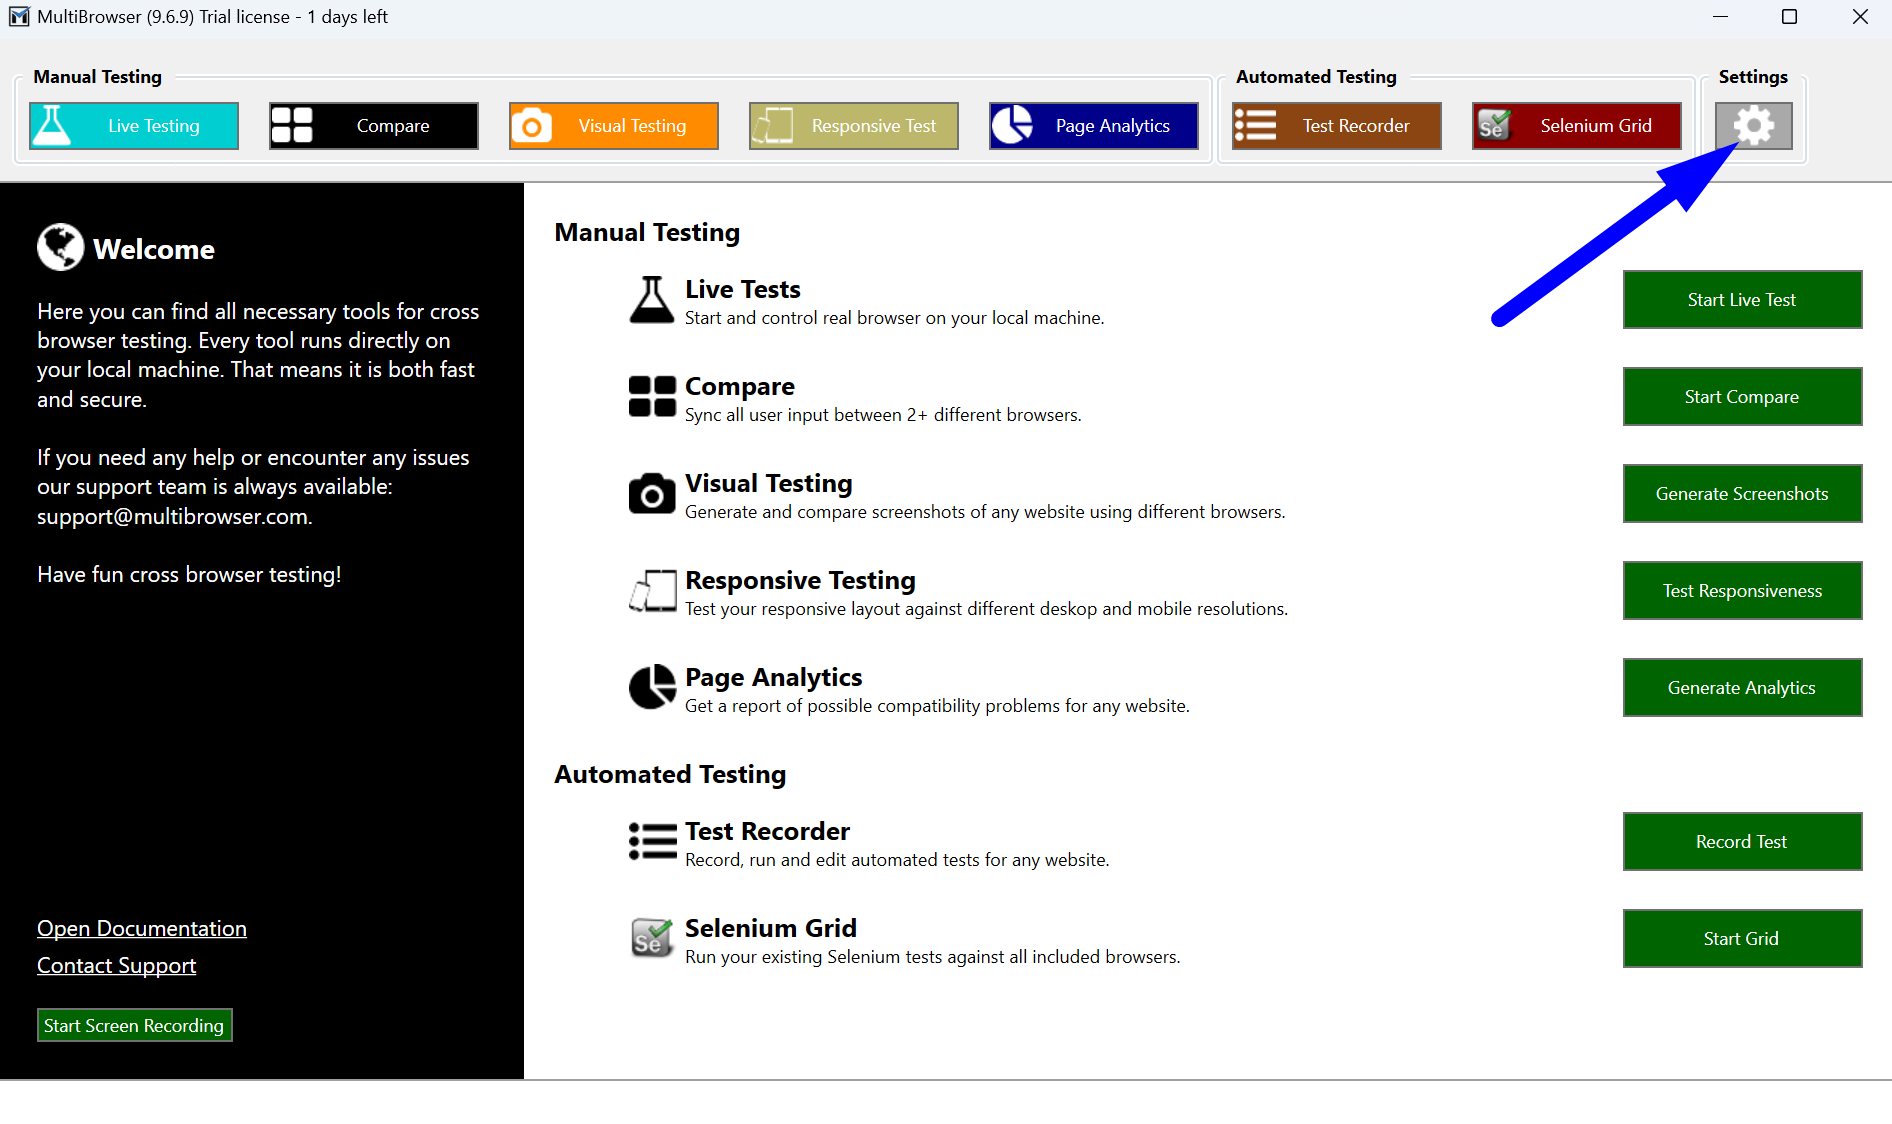
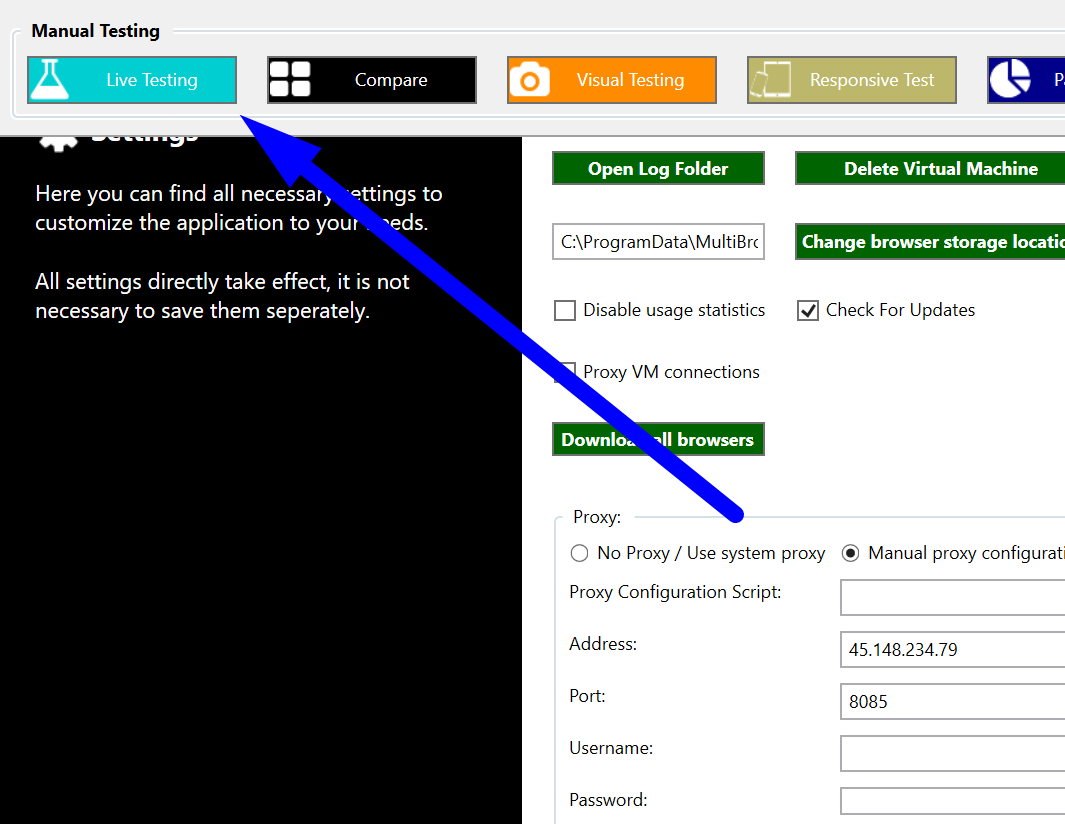
Step 1: Open MultiBrowser Network Setting
To access the settings, click on the gear icon located in the upper right corner of the screen.
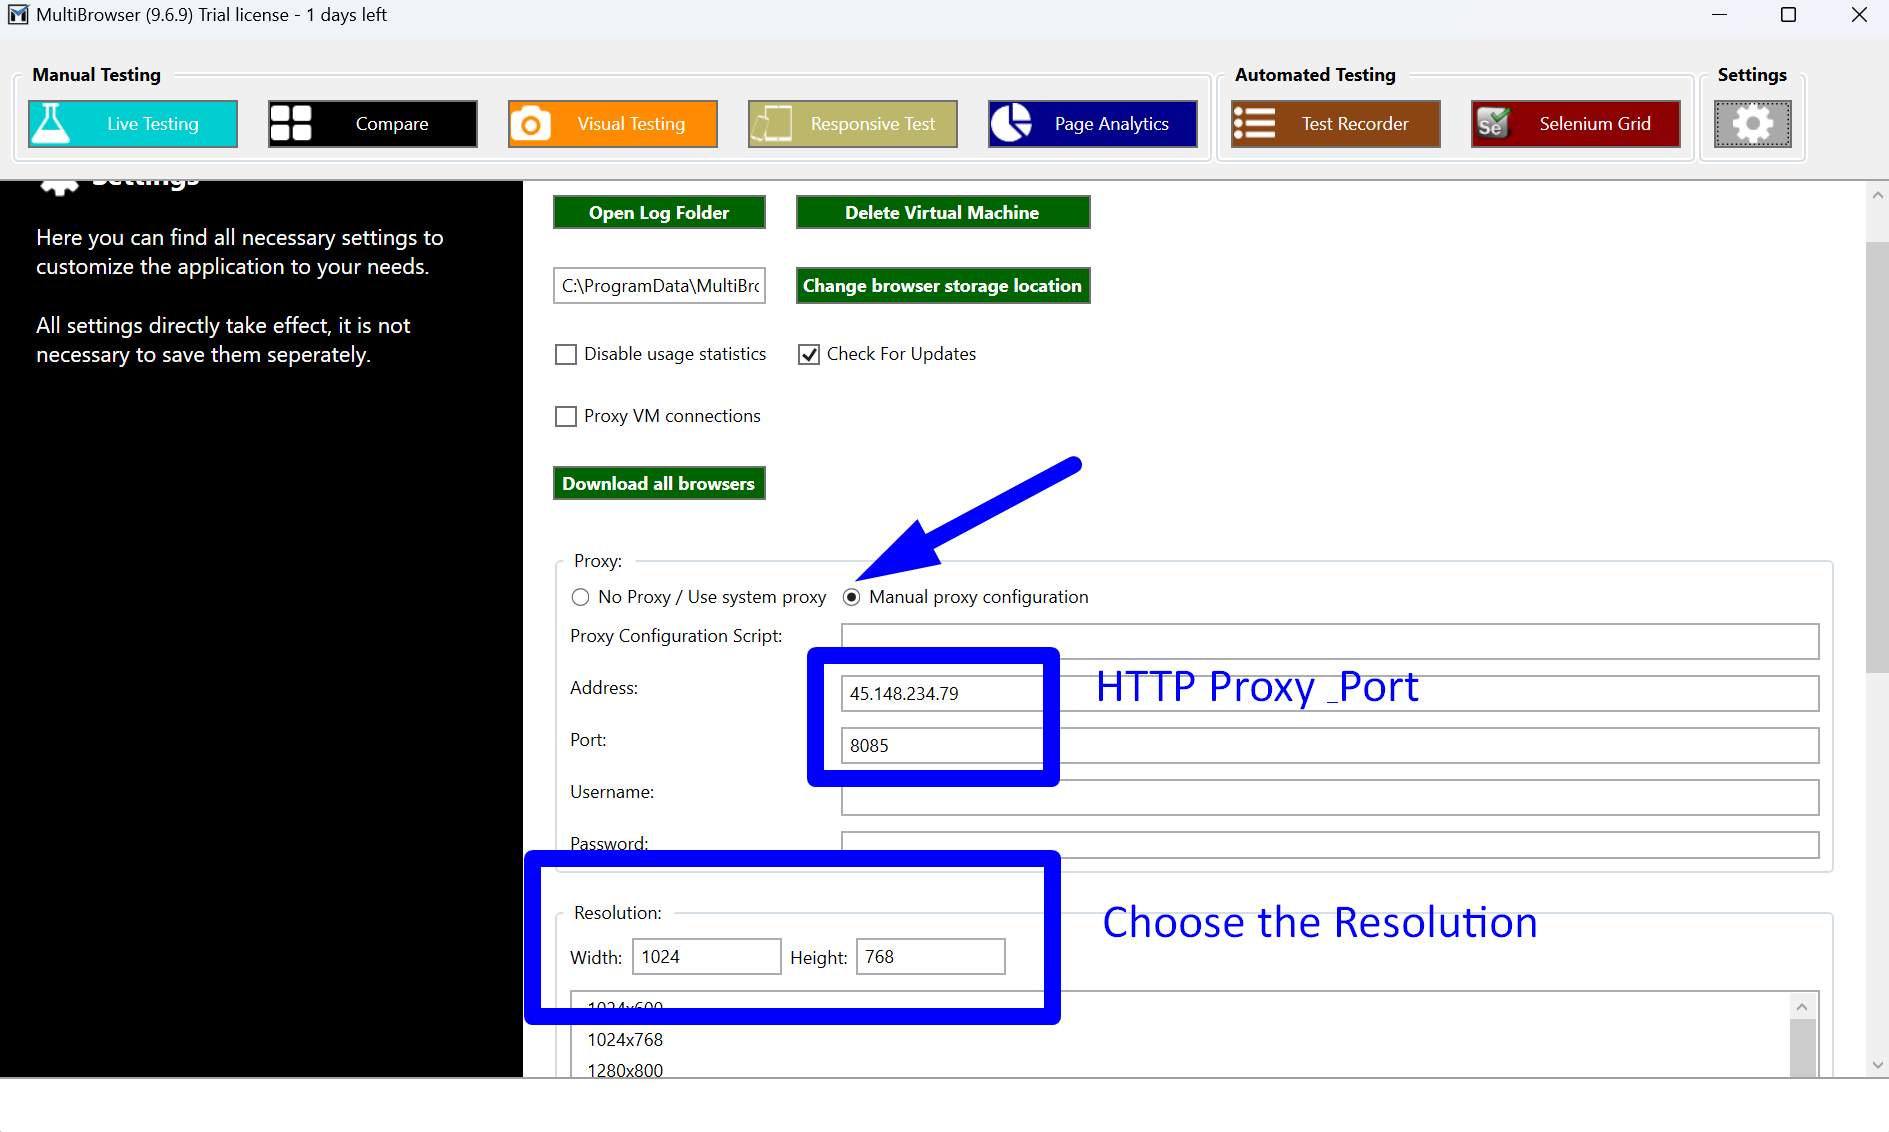
Step 2: Setting Up a HTTP Proxy and Resolution
In the “Proxy” section of the settings, switch MultiBrowser to manual proxy configuration mode. In the “Address” field, enter the IP address of our proxy, and in the “Port” field, enter the port used for the HTTP connection.
In the “Resolution” section, you need to specify the desired resolution. This will be the resolution set in the MultiBrowser working window when operating through the proxy. Enter “1024×768” or any other resolution you require.
Step 3: Live Testing of the Proxy
Next, return to the proxy testing section by clicking on the “Live Testing” button.
In this section, you need to specify:
- The browser that is required for working through the proxy. For example, choose the browser you intend to use. In our case it’s Firefox 120.
- The page for testing the results of the proxy setup. Choose, for example, https://2ip.io/ to verify the proxy’s functionality.
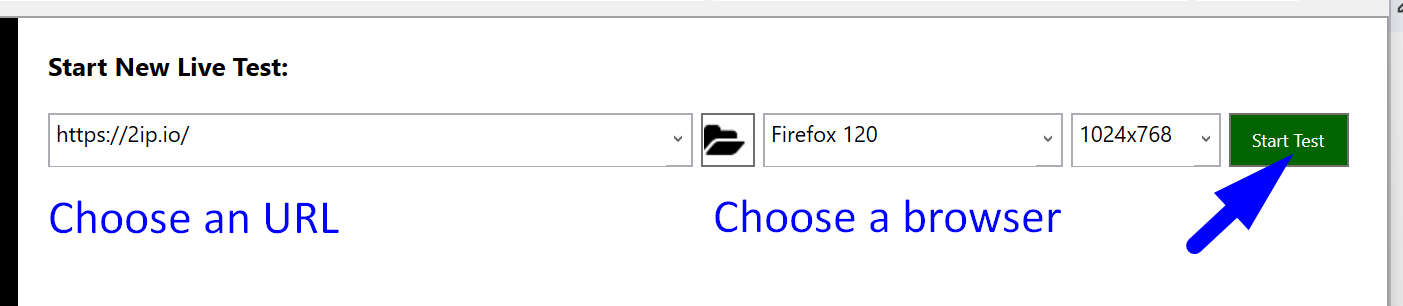
After that click on “Start Test”.
In the new browser window, the previously selected website will open according to the chosen browser parameters, resolution, and using the configured proxy server.
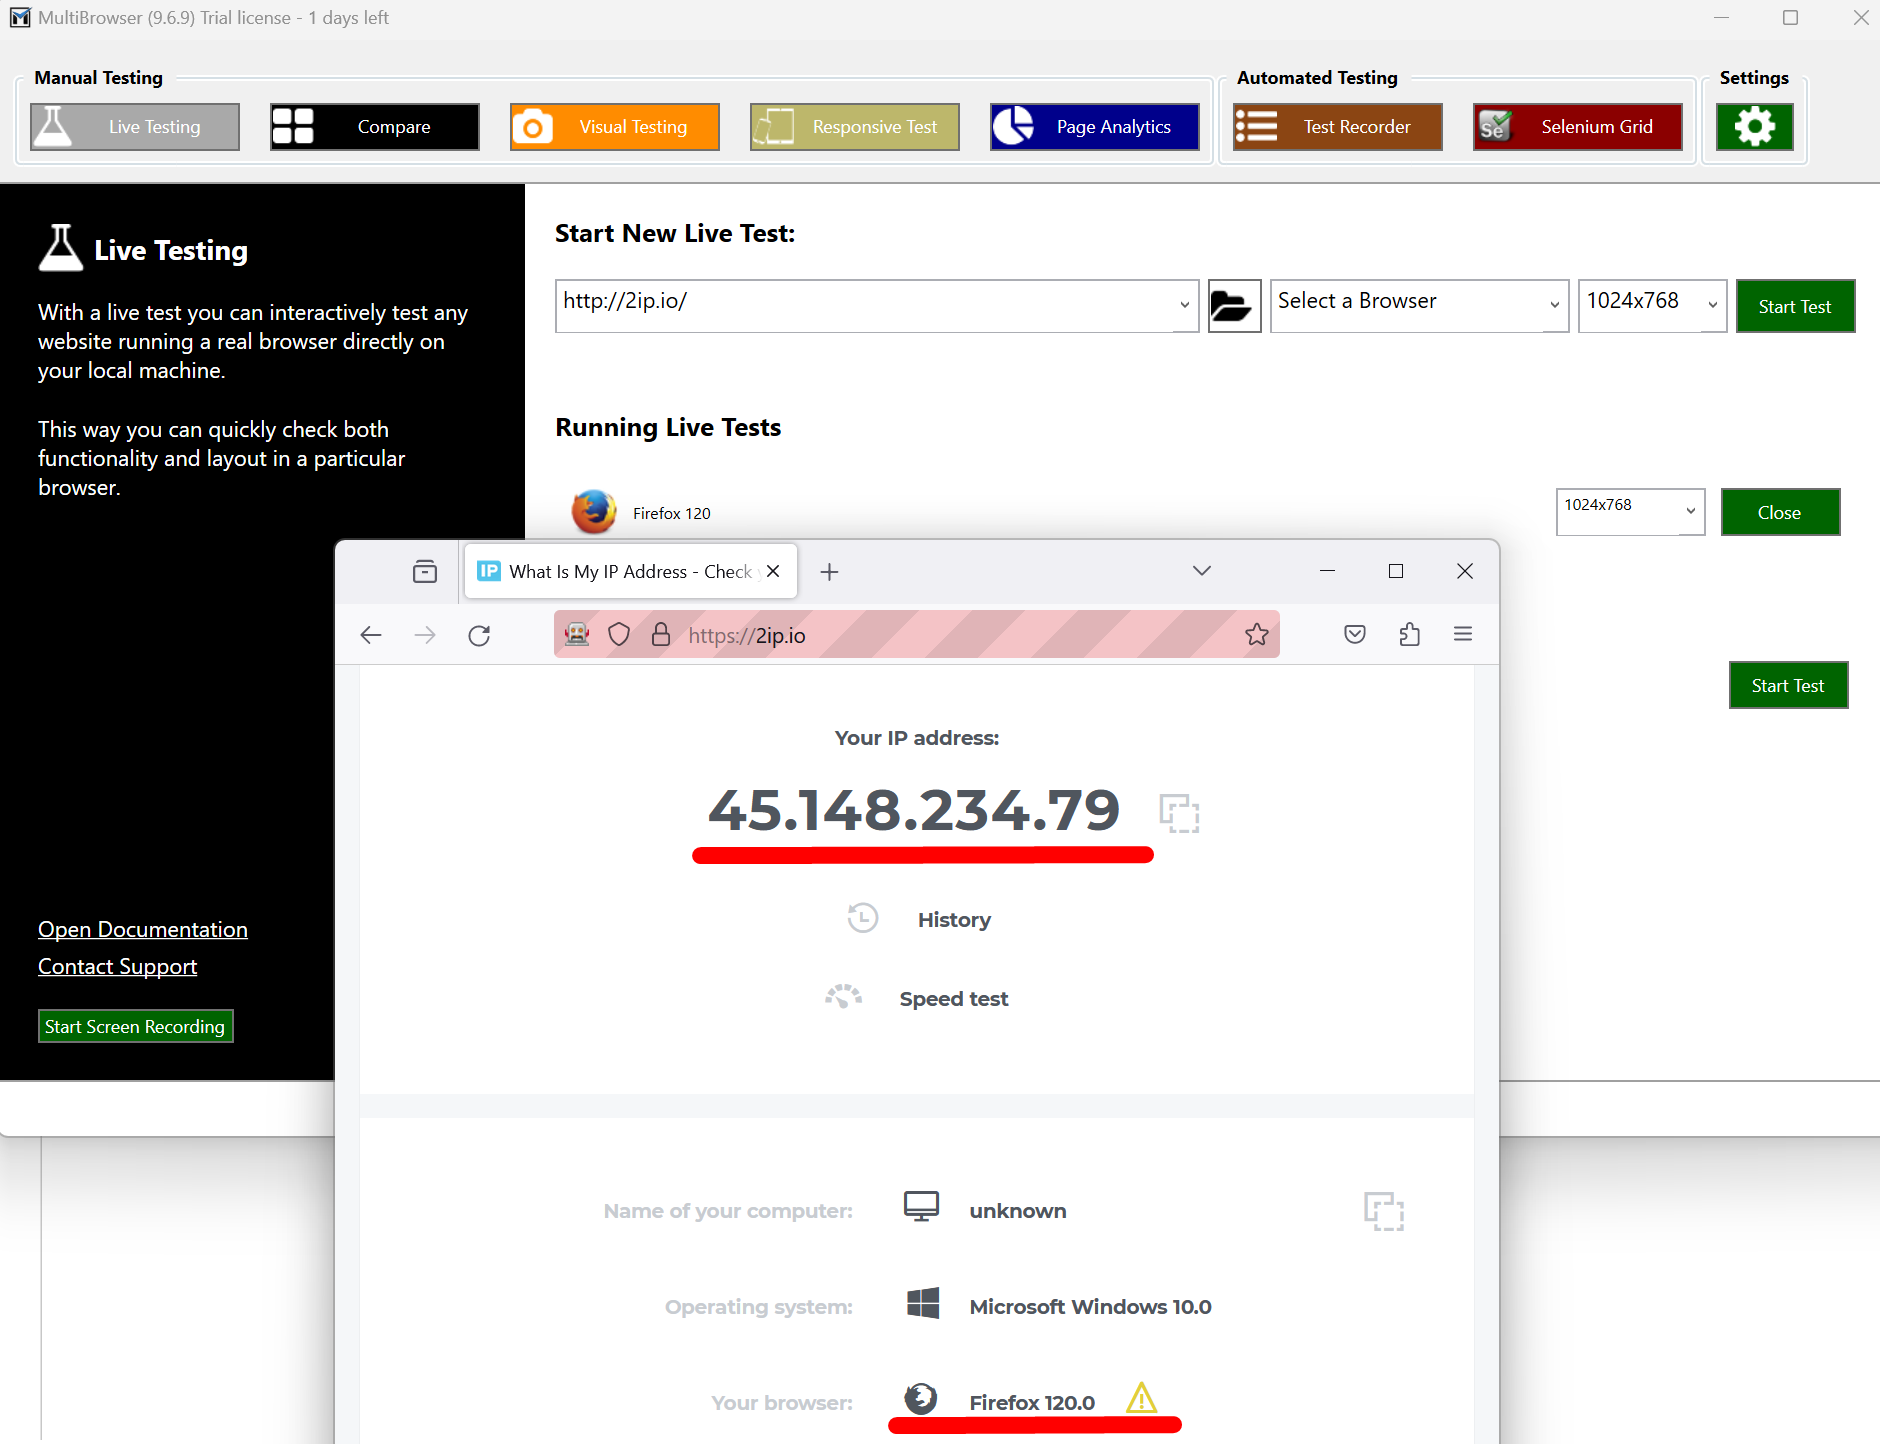
Everything is great! The proxy is connected. You can now start working with MultiBrowser.
